When you’re looking for a thoughtful way to say “thank you,” “congratulations,” or “welcome,” a cost‑effective custom gift hamper can be the perfect solution. It’s a bundle of joy that can be tailored to the recipient’s taste, the occasion’s vibe, and—most importantly—your budget. In this guide, we’ll explore how to create a memorable hamper without breaking the bank, and we’ll sprinkle in a touch of humor to keep the process light and enjoyable.
Why Custom Gift Hampers Matter
A well‑assembled hamper is more than a collection of goodies; it’s a narrative in a box. Think of it as a storybook where each item is a chapter that adds depth to the https://www.4shared.com/s/f4GzpEpEojq overall theme. A custom hamper shows you’ve put thought into the recipient’s preferences, turning a simple gift into a personalized experience.
- Personal touch: A hamper that reflects the recipient’s interests feels like a hug in a cardboard box. Versatility: From corporate appreciation to birthday celebrations, the same basic framework can be adapted to any event. Memorability: A thoughtfully curated hamper leaves a lasting impression, making the giver memorable long after the event.
Anecdote: The Accidental Gift
Last year, I was scrambling to impress a client and chose a generic gift basket. The client laughed and said, “I didn’t expect a random assortment of snacks. I’d rather have a hamper that told a story.” That moment taught me that a custom approach can transform a bland present into a memorable conversation starter.
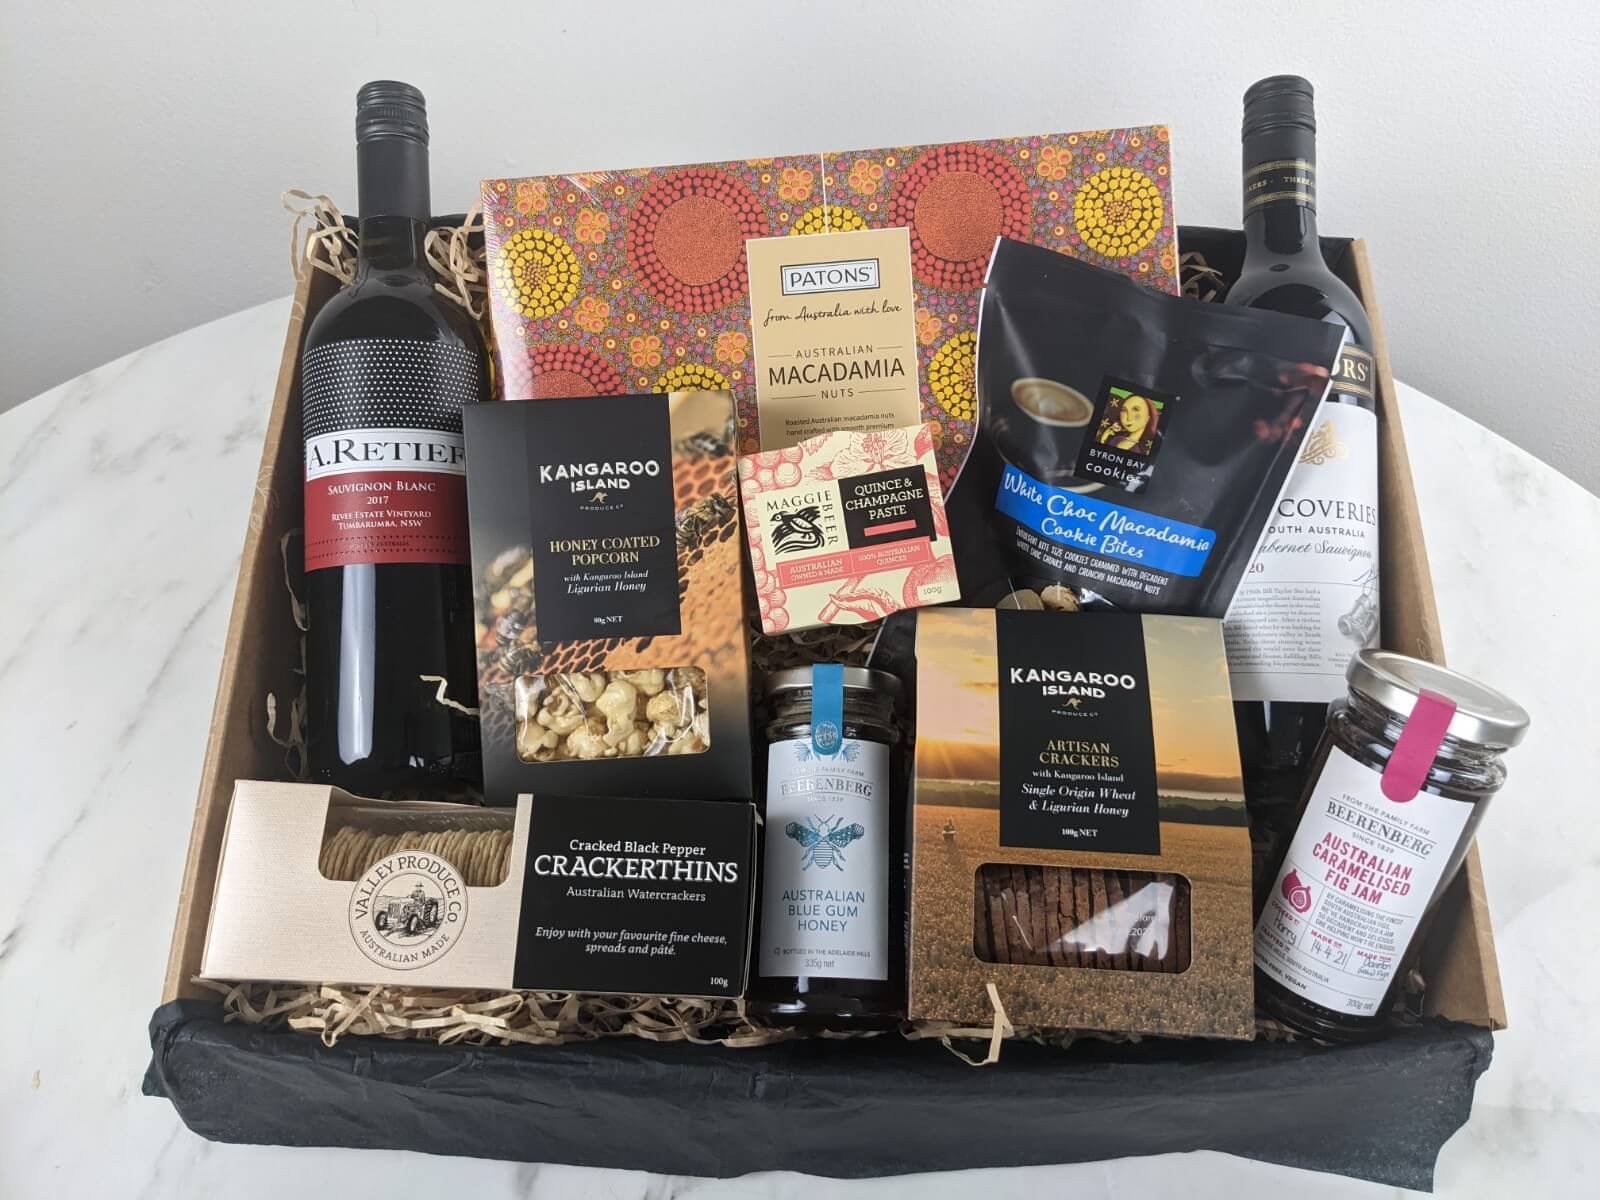
Budget‑Friendly Building Blocks
Creating a custom gift hamper on a budget doesn’t mean skimping on quality. It’s about smart selection and strategic layering.
1. Define a Clear Budget
Ask yourself: How much can I spend per hamper? Setting a ceiling early prevents impulse purchases and keeps the project on track.
2. Choose a Theme
A theme narrows your choices and can reduce costs by limiting the scope. Popular themes include:
- Wine & Cheese Night – A bottle, a cheese board, and a few crackers. Spa Retreat – Candles, bath salts, and a plush towel. Coffee Lover’s Delight – Premium beans, a mug, and a biscotti.
3. Source Cost‑Effective Items
- Bulk buying: Purchase items in larger quantities for a lower unit price. Seasonal discounts: Take advantage of end‑of‑season sales for produce or holiday treats. Local artisans: Often cheaper than imported goods, and they add a unique touch.
4. DIY Elements
Adding a personal touch doesn’t have to be pricey. Consider:
- Handwritten notes or recipe cards. A small DIY project like a homemade jam jar.
Personalization That Pays
The secret sauce of a custom hamper is personalization. It turns a generic bundle into a bespoke gift that feels tailored to the recipient.
1. Know Your Recipient
A quick conversation or a quick look at their social media can reveal:
- Favorite flavors. Hobbies. Dietary restrictions.
2. Use Custom Labels and Packaging
- Printed labels: Affordable online printing services can add a professional look. Handwritten tags: Add a personal, artisanal feel.
3. Add a Signature Item
A small, high‑value item that aligns with the recipient’s interests can elevate the entire hamper. For example:
- A limited‑edition tea blend for a tea connoisseur. A premium chocolate bar for a dessert aficionado.
4. Quote Inspiration
“Gift giving is a bridge between two souls.” – Unknown
Let this quote guide your choices: each item should act as a bridge to the recipient’s heart.
Assembly Tips: Making It All Stick
A hamper’s presentation is as important as its contents. Think of it as a stage where each prop (item) plays a role in the overall performance.
1. Choose the Right Container
- Recycled cardboard boxes for an eco‑friendly vibe. Reusable baskets for a more upscale look. Custom wooden crates for a rustic charm.
2. Layer Strategically
- Base layer: Soft, neutral items like a blanket or towel. Middle layer: Main items that draw attention—cheese, wine, or specialty snacks. Top layer: Decorative touches like a small plant or a scented candle.
3. Use Fillers Wisely
- Burlap, shredded paper, or tissue paper can cushion items and add color. Natural fillers such as dried herbs or citrus peels add aroma and visual interest.
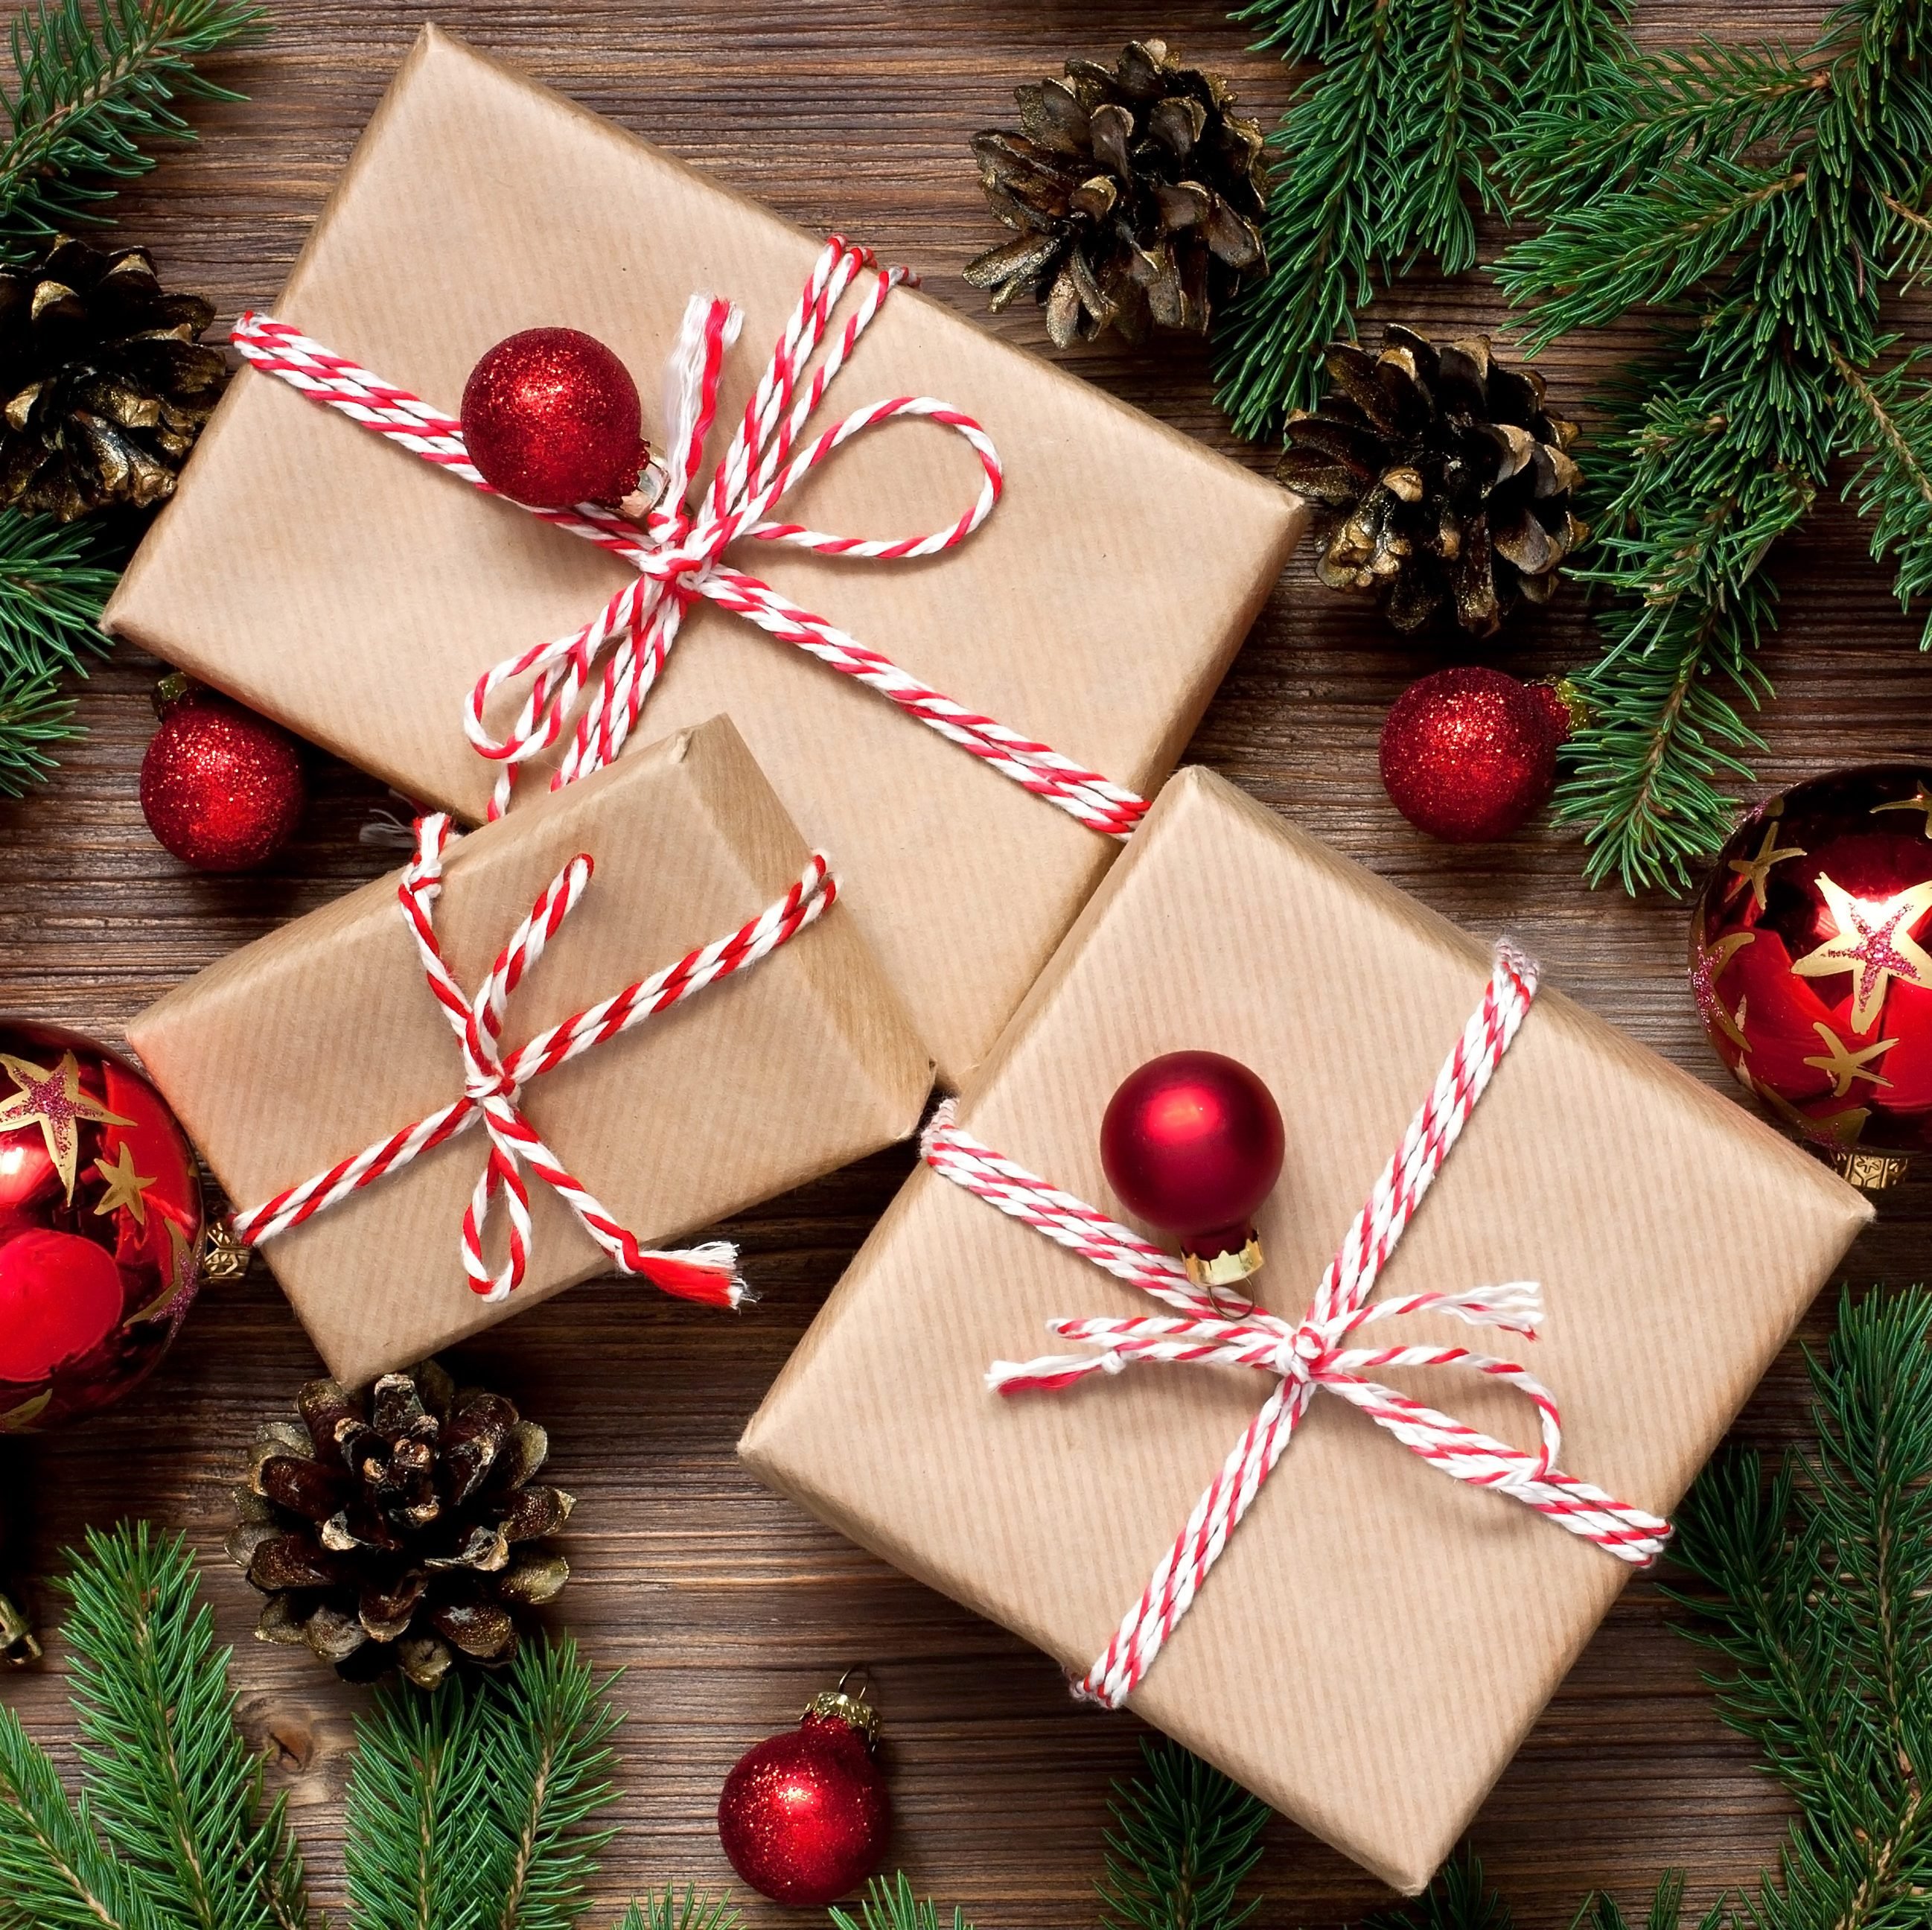
4. Final Touches
- Ribbon or twine: Adds a polished look. Gift tag: Include a brief note that ties the hamper’s theme together.
Making Your Selection Count
Now that you’ve learned the building blocks, it’s time to put them together and create a hamper that will be remembered.
1. Test the Balance
- Weight distribution: Ensure heavier items are at the bottom to prevent tipping. Visual balance: Alternate colors and textures for an appealing layout.
2. Check for Allergies and Preferences
A quick double‑check can prevent disappointment. If in doubt, add a small note: “Enjoy responsibly—if you’re allergic to nuts, skip the trail mix.”
3. Seal with Confidence
Wrap the hamper securely and add a final flourish—a personalized card, a small gift receipt, or a QR code linking to a thank‑you video.
4. The Call to Action
Ready to start crafting your own cost‑effective custom gift hamper? Browse local suppliers, gather your theme, and let your creativity flow. Remember, the most memorable gifts are those that come from the heart—so keep the process enjoyable, and the results will speak for themselves.